USE HASHICORP’S VAULT TO DYNAMICALLY CREATE MYSQL CREDENTIALS

Passwords are a necessary evil to keep bandits from running away with your confidential data. We’ve come up with various strategies to manage these secrets, such as:
- Using one password for all of your stuff so you don’t forget it
- Using a password vault to store a unique password for each of your logins
- Using a few passwords in a pattern you can remember
- Writing down your password on a sticky note and attaching it to your monitor
Now, not all of these practices are good, but you get the idea.
What do we do about passwords in an enterprise? We should be using unique passwords for every login, but also every service account. This usually leads to a password vault of some sort, but wouldn’t it be more secure if you generated a new password with a set lifetime and only generated it when needed? Hashicorp has a tool called “Vault” that lets us build these dynamic secrets at will so that we can use it with our applications or temporary user access. For this post, we’ll create dynamic logins to a MySQL database so that a flask app will be able to use it for its database backend. In your lab, you could use this for anything that needed access to a MySQL database, including a user that just needs temporary access.
Vault Prerequisites
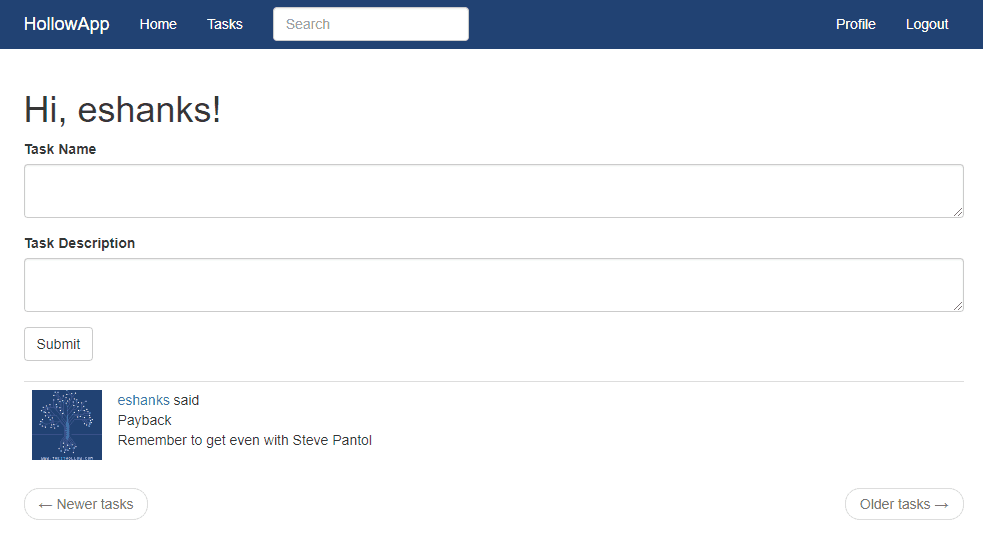
Before we can get started with this, we’ve already had to deploy a few of the resources. First, I’ve deployed a Vault server and I’m using a Hashicorp Consul server as a backend for Vault. To be totally honest, I’ve deployed three Vault servers and have Consul installed on those same servers, but your environment may vary depending on your availability and performance requirements. I’ve also unsealed Vault and logged in with a user with permissions. Next, I’ve deployed a MySQL server with an admin user named “Vault”. Lastly, I’ve deployed a flask app on a server and connected it to the MySQL server for its database instance. You can see the basic flask app below and that it accepted a login and a single “task” entry stored in the database.
Configuring Vault for Dynamic Secrets
The boring infrastructure setup stuff is done and we’re ready to configure Vault to dynamically create MySQL logins when we need them.
The first thing I’d want to do is to enable the database capabilities. I can do that by running the following command:
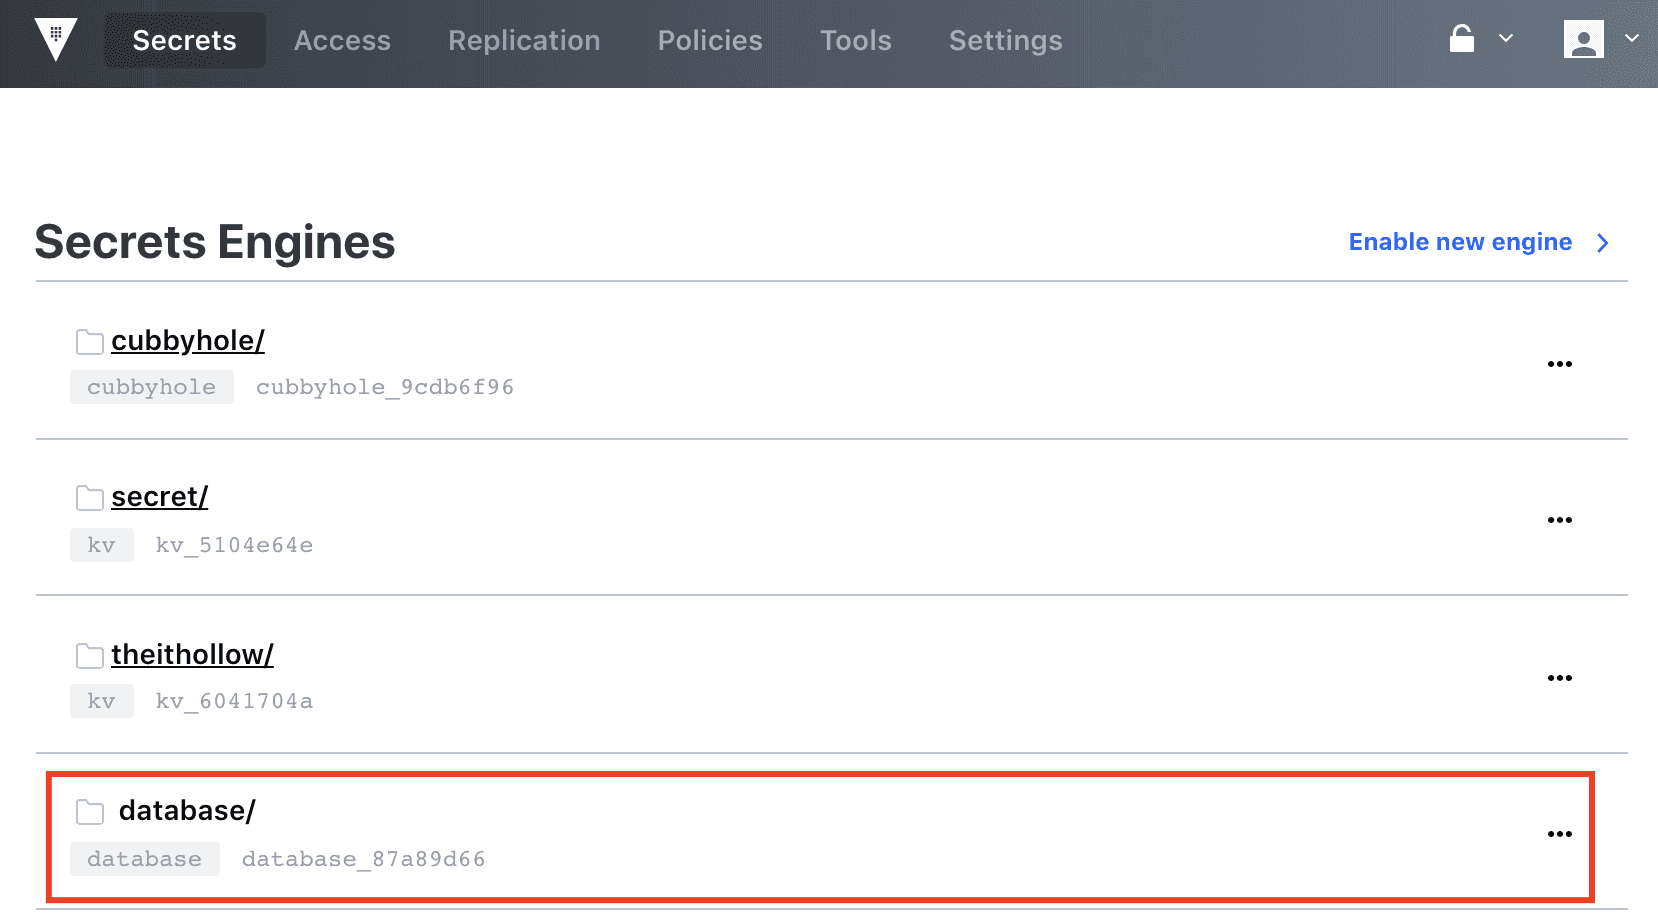
Now that we’ve enabled our database secrets, we need to configure vault to talk to our MySQL database. To do that we need to tell the database engine which plugin to use, and the connection information. Remember, I created a “Vault” user on the MySQL database already so that the Vault software could log in for us.
To set up the configuration, we’ll run this from the Vault command line:

The “write database/config/hollowdb” line is where we’ll store the config within the vault server. The name of my database is hollowdb so that’s where I’m storing it. Whats important is storing it within database/config. You’ll also notice that there is a connection URL to the server/database and we’ve added a username and password to fill in there. Don’t worry, that password is garbage and has since been deleted. We’ll configure the allowed roles in a moment, but for now, just give it a name.

Now, as you might have guessed, we’re going to configure the role. The role maps a name within Vault to a SQL statement to create the user within the MySQL database. The code below is the role that I’ve created:

In this command, we create a new role that matches our earlier configuration to the database. Then we add a SQL statement that takes our username and–in this case–creates the user in the MySQL database and grants all permissions on the hollowapp database. Also take note that we have a default time-to-live of 1 hour, which can be extended to 24 hours. After this, Vault will revoke the credentials.

At this point, we’re ready to see some of the magic happen.
Testing our Dynamic Secrets
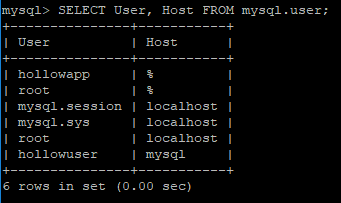
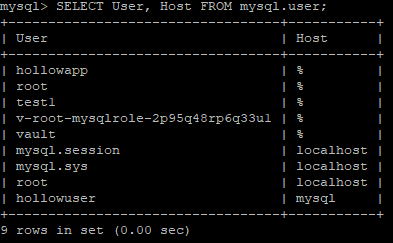
So to test out what we’ve built, we’ll first take a look at the database users that are currently on my MySQL database. I’ve got a few users that I’m using for my flask app, and some other admin-type users in here.
Now we can tell Vault to give us a new login to our MySQL database. This can be done from a Vault client or through the API, of course. From the Vault client, we would run:

We call the Vault read command against database/creds/[role configured]. You can see that when we do that, we’re returned some data that includes a username and a password, along with some other information.

We could run the same command through the API, which I’ve demonstrated through the curl command.
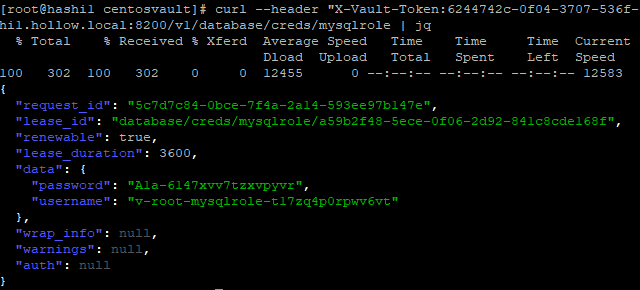
When we look at the list of MySQL users, we can see that a new user has been created that we can use for our application to log in with.
Applying this Capability
OK, we’ve demonstrated that we can use Vault to create these temporary passwords for us, but how do we integrate it with something more useful? Let’s go back to the Flask app we discussed at the beginning of this post. We’ll leave that app alone, but this time, we’ll deploy a docker container and attach it to the same MySQL database. However, this time we’ll build the docker container to use one of our Vault-generated passwords.
When I deploy the docker container, I’ll generate a new MySQL login and pass it as an environment variable to the docker container to specify the Flask database connection.

When the docker image comes up on my local machine, I’m able to log in and we see the same task entry at the beginning of the post. This means that the docker image and our web server are both communicating with the same MySQL database.
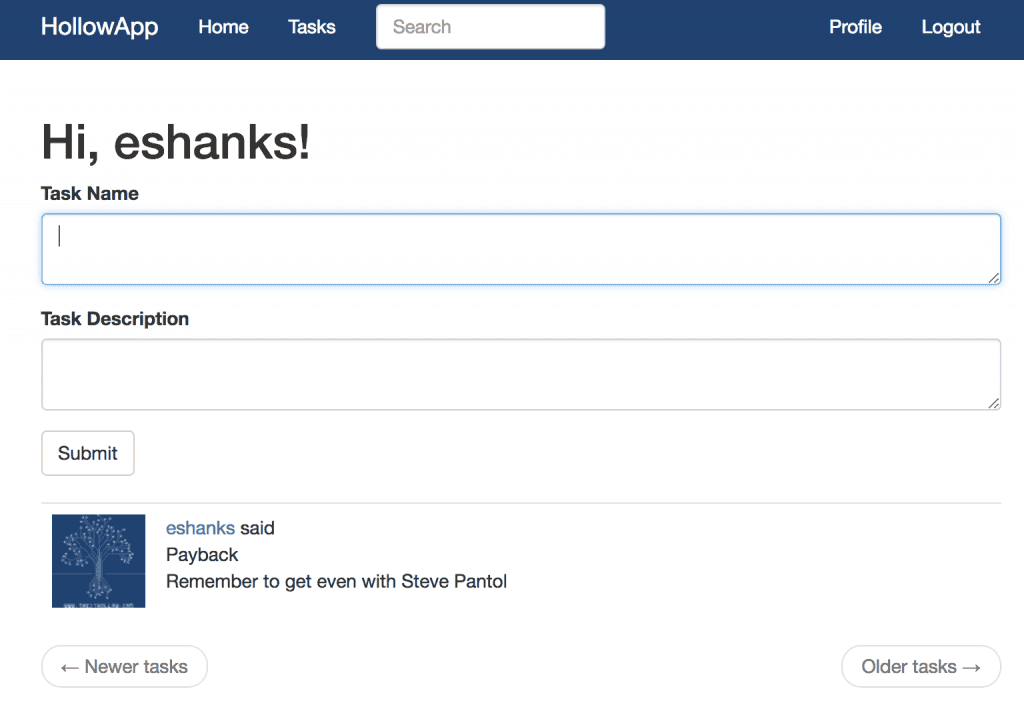
Well, that’s neat! We should remember though that this container will only work for one hour because that’s how long our credentials will be available. This might seem bad for a web server, but what if we’re dynamically spinning up web servers to handle a task and then terminating the container? Then these temporary credentials would be pretty great, right?
Also, in this example, I’ve passed the credentials to the container through an environment variable. Perhaps it would be even more secure if the container itself obtained the credentials when it was started. Then the container would be the only place the credentials would have been stored in memory.
Summary
This is just the beginning for Vault. There are a lot of ways you could make this solution work for you, and I didn’t even discuss how Vault performs encryption or logs the sessions for an audit trail. How would you use Vault in your environment? Feel free to reach out to me on Twitter with your responses.
Also, click here to watch AHEAD and HashiCorp’s webinar, “Deploying Azure Infrastructure Using HashiCorp Terraform,” to take even deeper dive into the platform.
(This post originally appeared on The IT Hollow.)
